An Easy DIY for Your Home…
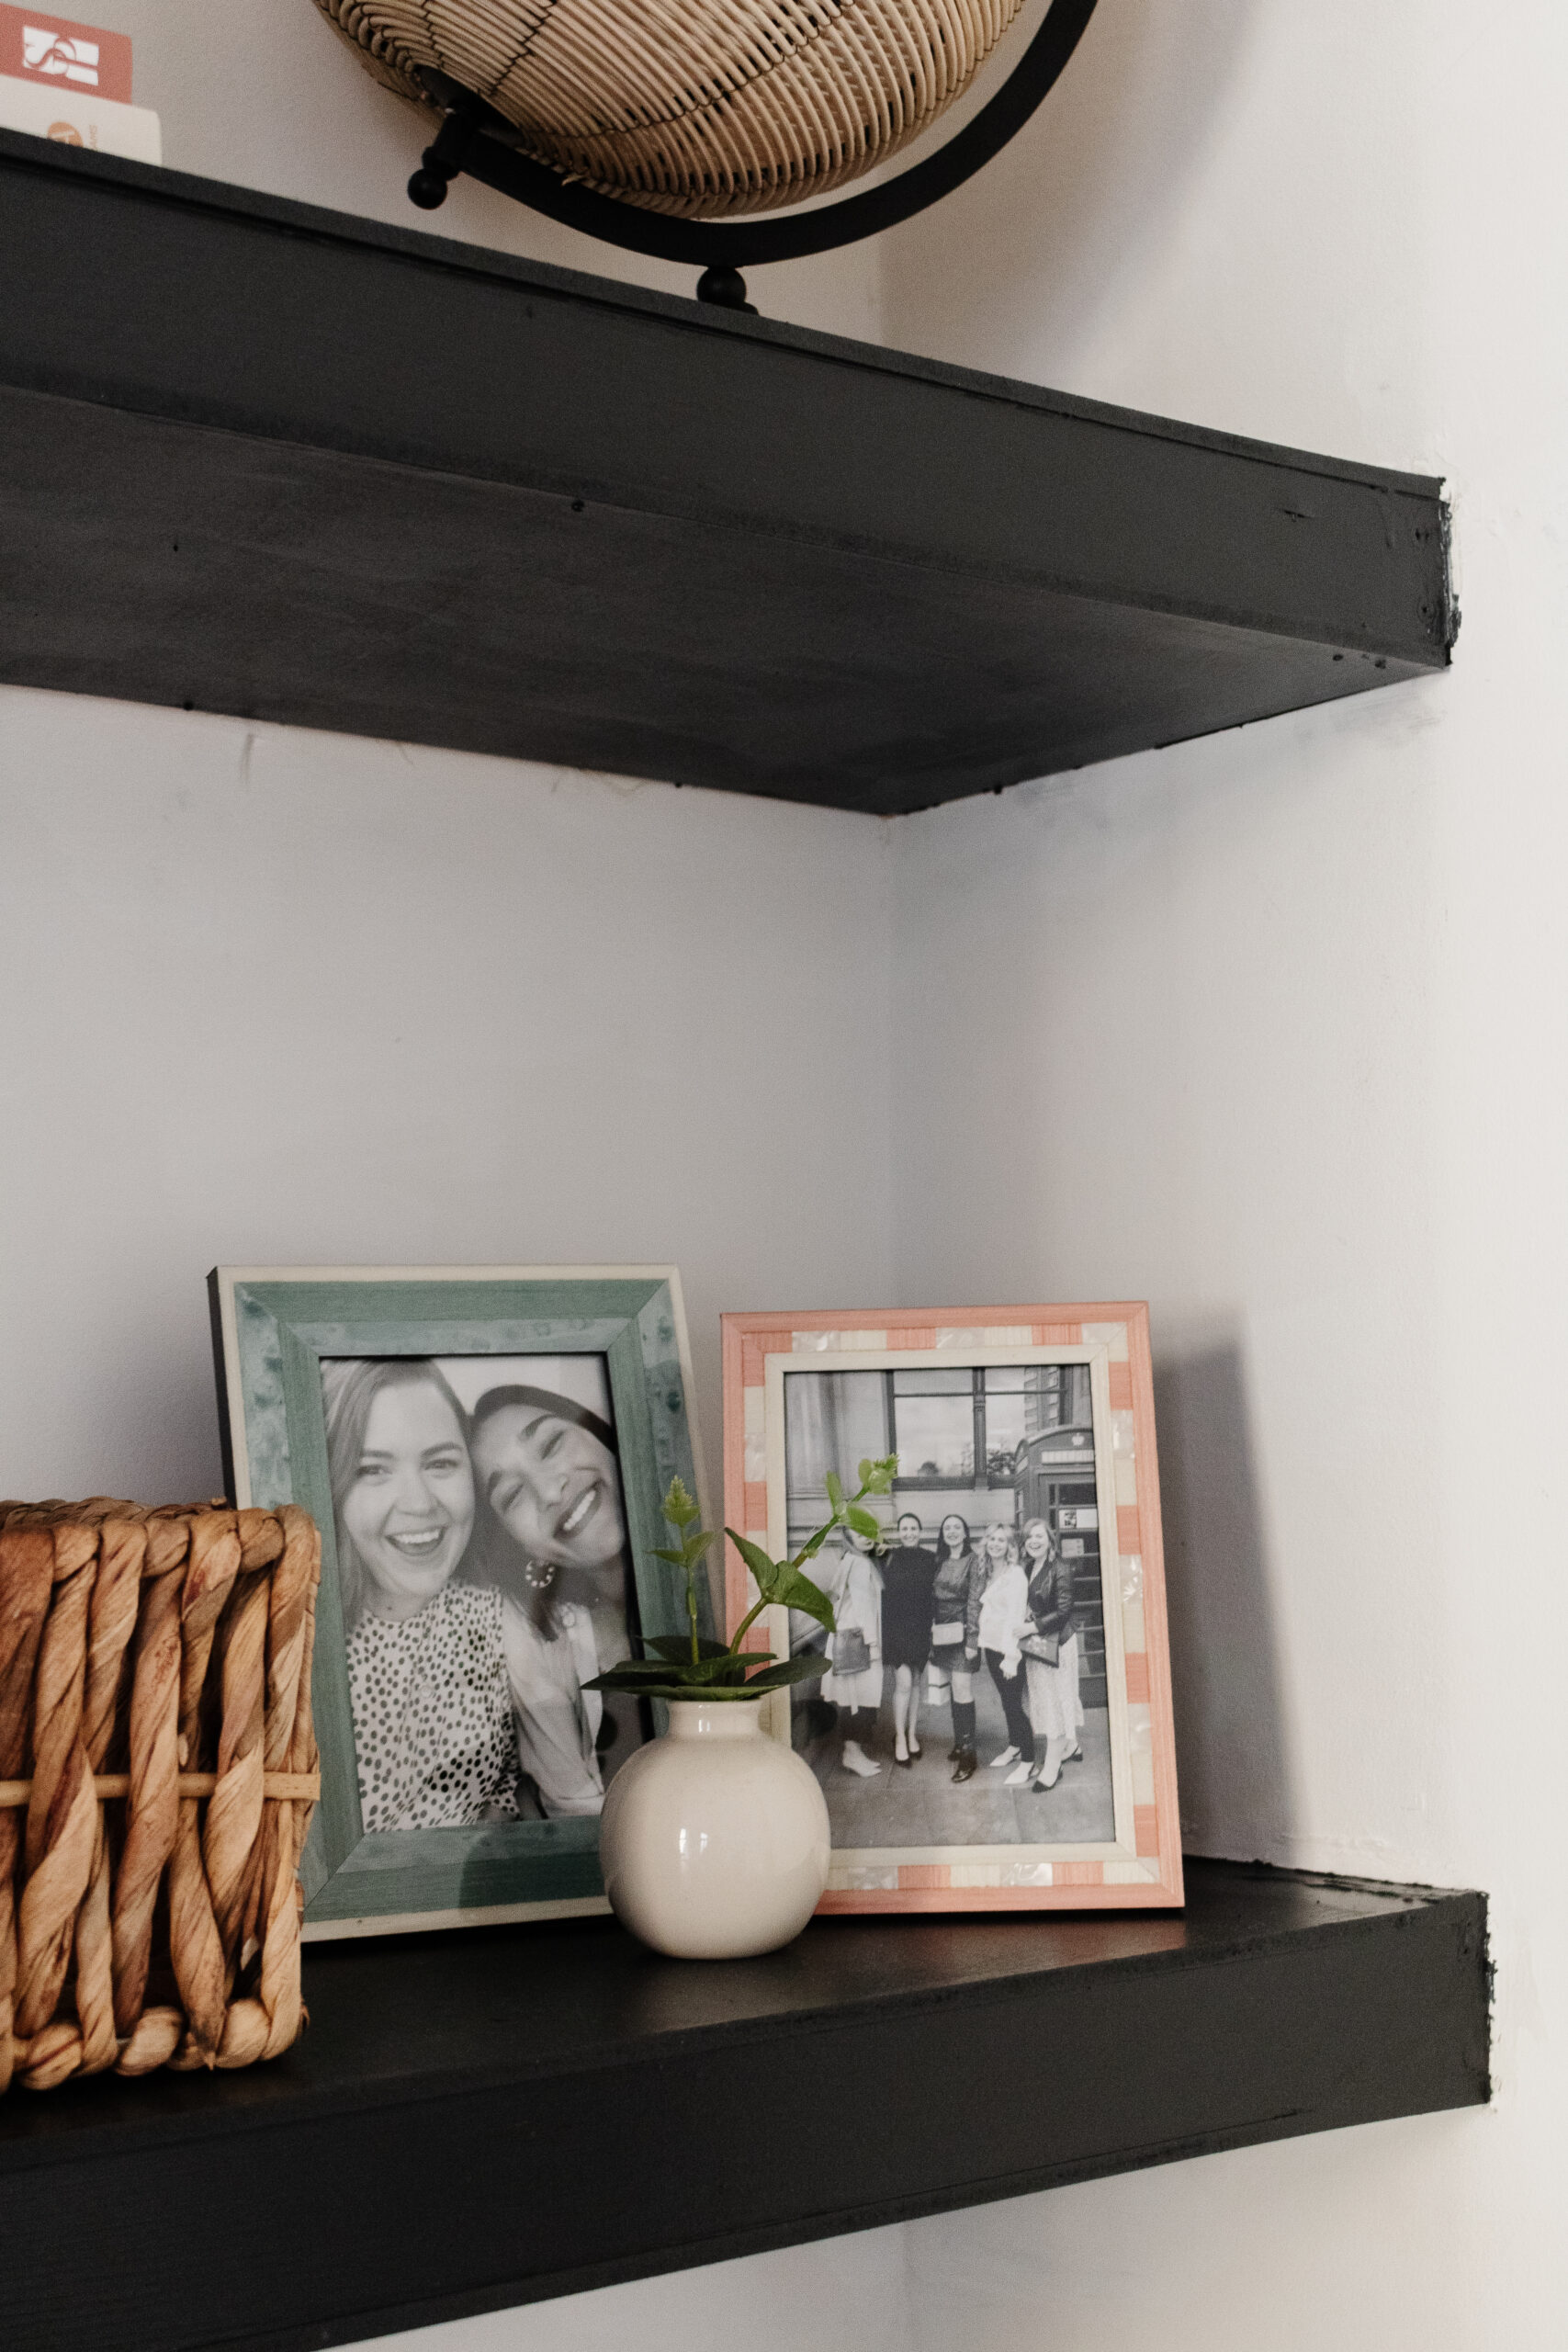
After revealing my living room makeover, I’m so excited to reveal how I made my DIY floating shelves. You guys have been loving them on my Instagram feed. I couldn’t wait to tell you how I created them. From the beginning of this makeover, I knew I wanted to do some open shelving in this alcove, but I wanted them to match the chest of drawers we got for it. I knew the only way to do this was to DIY them.
I like to take on a project and a challenge. This one seemed like a fairly easy DIY project and after a coaching call from my dad on the logistics of it, I got on with it…


THE BEFORE AND DURING.
Once I cleared out the corner, I got planning the shelves. As I wanted them to hold some weight, I knew this would have to be screwed into the wall. Not exactly renter-friendly, but not fixable. Filling holes in walls are my job when we move out of a rental and if you’re willing to do the work this DIY can easily be reversed once you leave.
To hold the weight, I knew the right brackets needed to be made. For that, the shelves had to be fixed to all three walls, as many as walls as I could get it to fix to. This is the one thing I’d recommend for when doing this DIY. I used plywood for this creating an eight out of wood. The front plinth would ensure the shelf’s thickness and smoothness of the front. The middle plinth that completed the figure of eight, that was to help balance the weight of the shelves once I started decorating them. All of these were attached with screws.
To complete the shelves, I used sheets of MDF to cover the top and bottom. I could have just done the top, however, as I wanted this to look like a thick piece of wood, I covered the bottom also. These I nailed into the plinths, easy to remove if I wanted to break down these shelves. From there, it was time to paint them and decorate them.


THE FINISHING TOUCHES.
When it came to painting, there was only one brand I was going to go for. I had used it on our cabinets for our kitchen makeover and loved their formula. I knew for this project I wanted to use their paint again. The colour I used is called David Rose and I’m 99.9% sure that the only reason I picked it for the name. It happens to be a lucky coincidence that it matches the furniture picked out. In terms of painting, it took two coats and it was done. Unheard of for dark colours. Usually, it takes three-plus coats to do a dark emulsion so I’m 100% happy with the process of painting this. Once the paint was dried it was a case of styling. This took hours and I thoroughly enjoyed the process.
I do hope this post has given you the confidence to take on a similar DIY project. I’ve also documented the making of these DIY floating shelves on my YouTube channel if you want to see a little more detail. I wouldn’t say I’m a novice, but I’m not an expert. As long as you take your time, you can easily recreate something similar to this in your own home.
SHOP MY LIVING ROOM.


Leave a Reply